Of course the presentation is an important starting point. The Q+A is where you really bring it home. After a mediocre presentation you still can convince the panel with a strong Q+A. A perfect pitch will be ruined if it is followed by a weak Q+A. But, because of the difficulty to predict what the questions will be, many applicants put a lot of effort in finetuning the presentation and almost neglect to prepare for the Q+A. And many candidates look back on their presentations with confidence, but are less happy with their answers.
So, preparing for Q+A is imparative. Here we give you the tools to master the Q+A in advance.
Stress during the Q+A
After you said: ‘I look forward to answering your questions,’ or something along those lines, and un-sharing your slides, you step into the Q+A phase of the interview. To some it means stepping in their favourite part of the interview, since it allows them to connect with their audience. They look forward to the friendly challenge of the dialogue. Others are frightened. They will loose the control that they had during the presentation. They are now at the mercy of the panel. They can be friendly and willing, but also hostile and sceptical and bombard you with tricky, mean questions.
What you can do
As we promised, you can do many things in advance to prepare for the Q+A. Next to the stress reduction techniques we discussed in Step 9 and Step 10 it comes down to preparing and structuring your answers and learning to access them with greater ease.
By nature we all are question oriented. When someone asks a question, we all have the tendency to listen very precise so we can answer as good as we can. Processing each question, then going back to our long-term memory to seek for the right answer, is a highly demanding task for (there it is again) our working memory. And as you know by now, our working memory is reduced in response to stress. Many applicants think back on their answers with regret. They wish they had provided better answers.
Our advice: flip it. Prepare in a answer oriented way. Most questions orient towards a limited amount of answer categories. We call this answer drawers. You can picture your short-term memory being a filing cabinet with a limited amount of drawers where answers are stored. When you recognize the answer drawer being addressed in an early stage of the question, you can buy yourself time to find the answer. This is as early recognition tool.

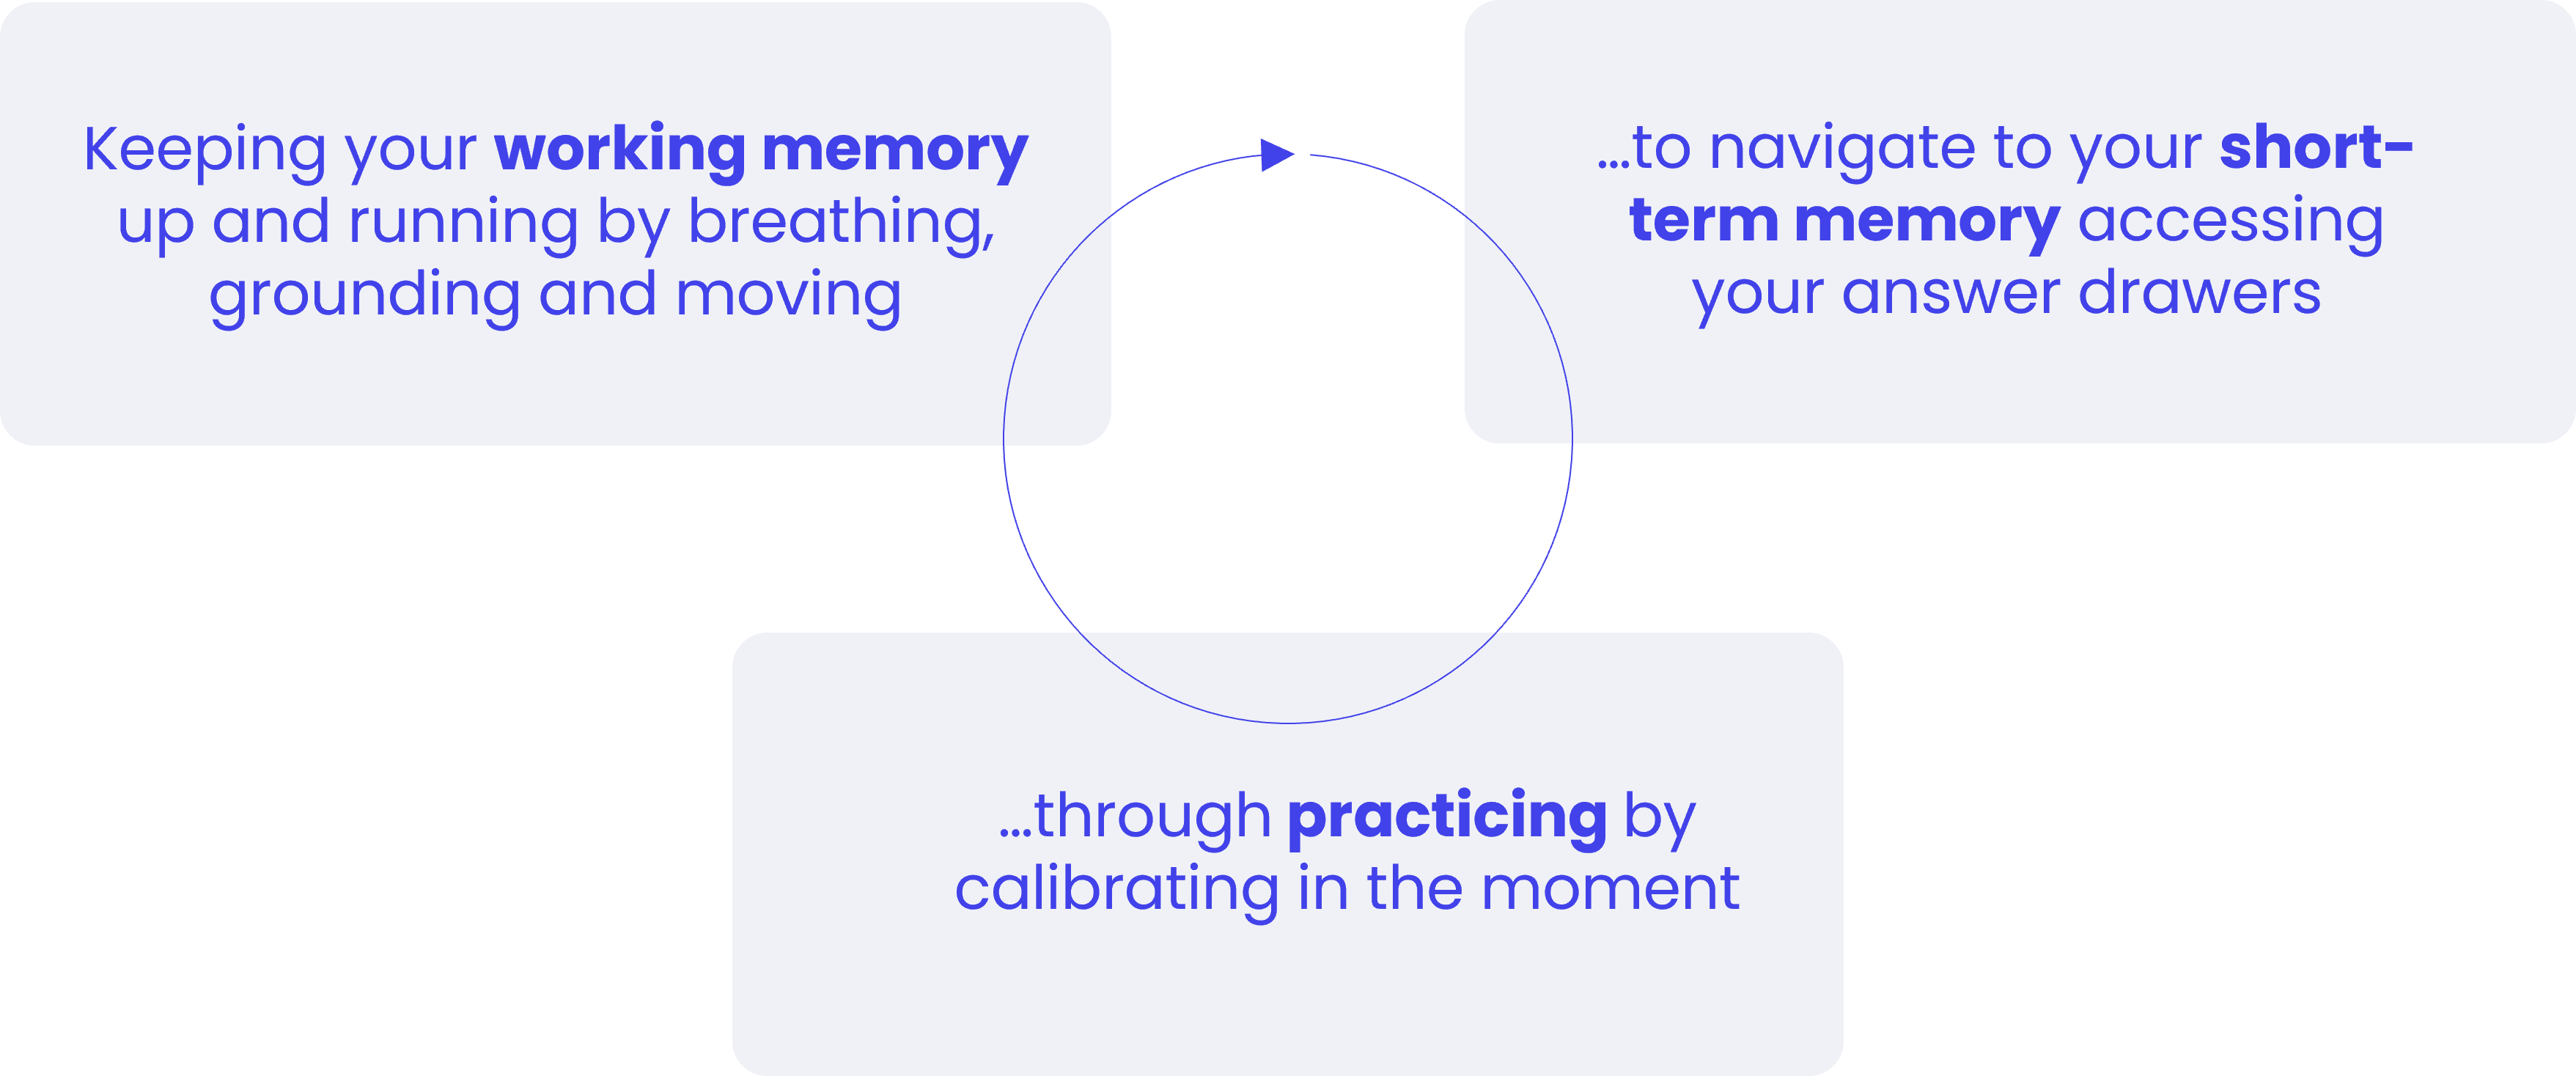
This is how you keep controll during the Q+A. 1. Apply the tools from Step 9 to keep your working memory up and running. 2. Navigate to your short-term memory where you have stored your prepared answers. 3. Practice this technique using the callibrating in the moment technique from Step 10.
Answer drawers
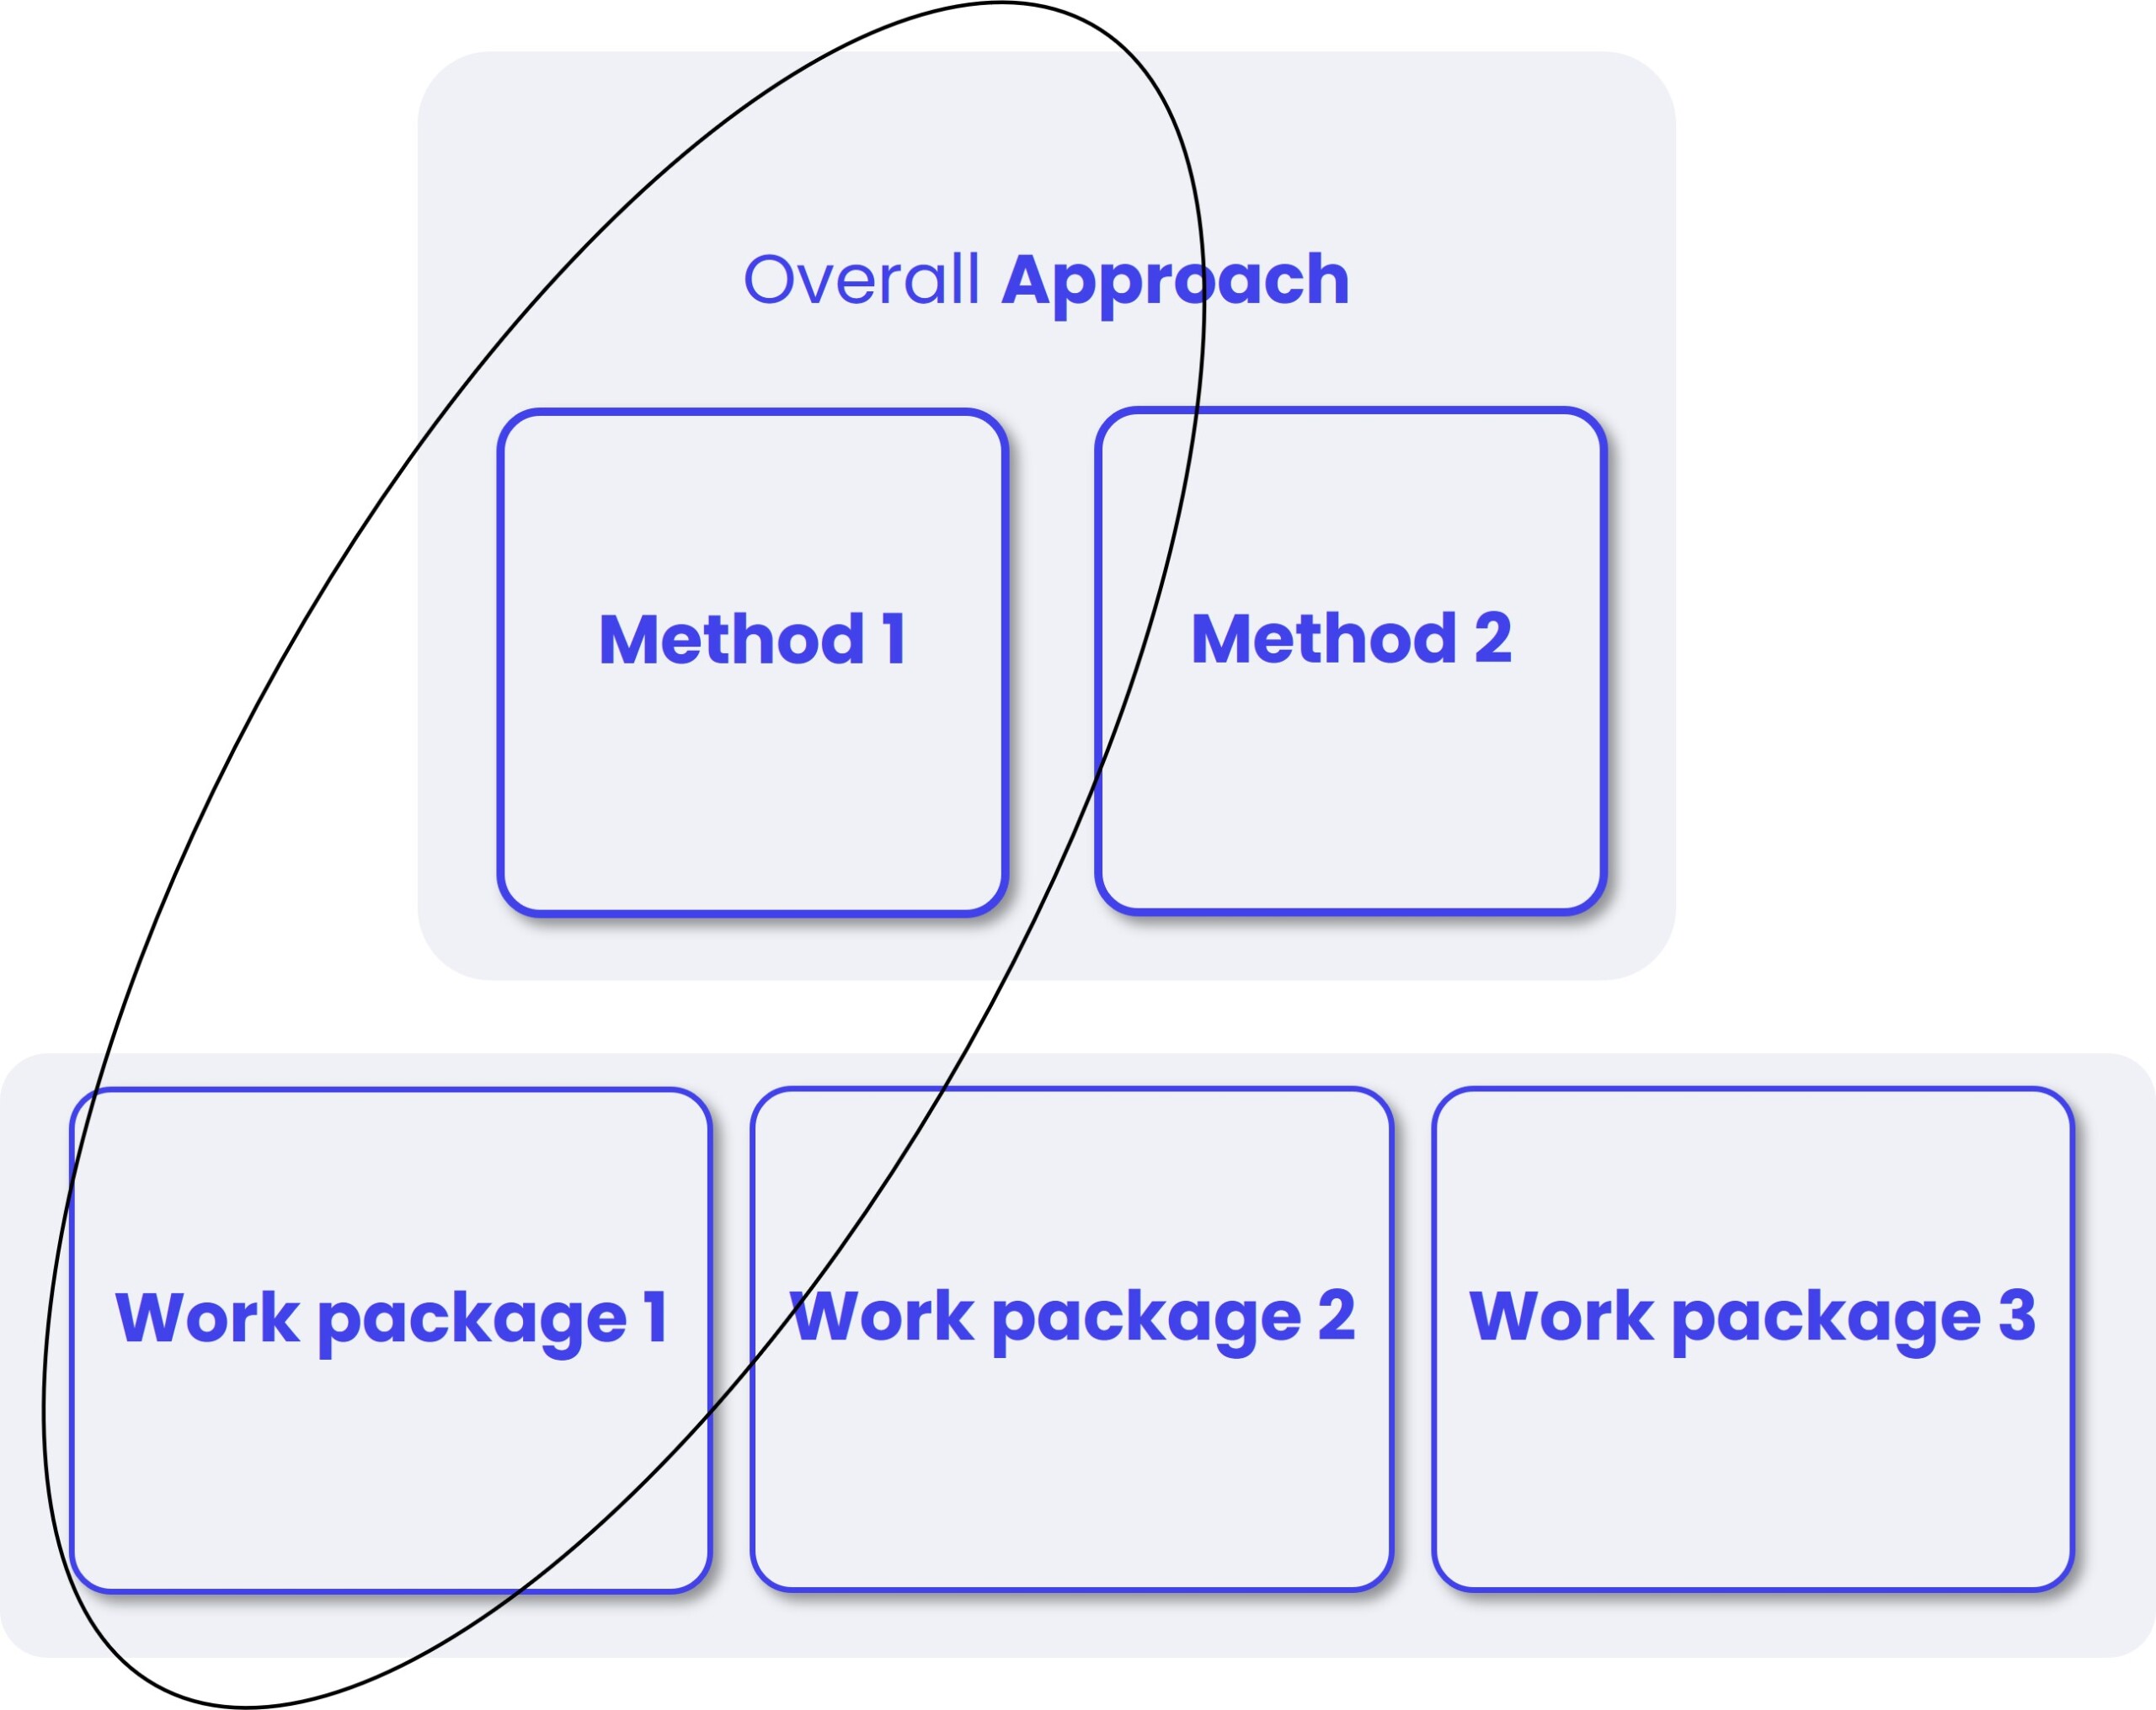
The core answer drawers we use are:
- 1 Approach
- Methods
- 2 Work packages
- 3 You
- Expertise (scientific knowledge and skills)
- Experience (management, budgeting)
- Network (fall back knowledge and skills)
- 4 Results
- Scientific
- Approach
- Societal
- 5 Curve balls
Depending on the grant, you can adjust the list. Have a look at the main evaluation criteria, make sure that you prepare an answer drawer for each of them.
You will recognize these answer drawers from Step 4 where you brainstormed about unique selling points. Apart from simplifying the art of answering by equipping yourself with an early detection tool giving you more time to think, it allows for inserting your unique selling points during the Q+A. Also, make sure you label and store your biggest strength and biggest weakness (Step 3) in this process.
Semantics
Recognition of which answer drawer is addressed is something you can train. Panel members have their own semantics. For instance, if they want to ask about approach, they might say ‘approach’, but also:
- Methodology
- Theoretical concept
- Way to go
- Scientific design
- Theoretical grit
- Paradigm
- Etc.
And, when talking about work packages, they might say work packages, but also:
- Steps
- Phases
- Objectives
- Aims
- Goals
- Etc.
These terms do not mean the exact same thing. However, all roads lead to Rome. Different semantics do point to the same answer drawer. By recognizing terms like ‘methodology’, ‘way to go’, ‘paradigm’, you know that the question is heading towards the drawer that you labelled as ‘approach’. It enables you to already think into the direction of the answer drawer and exclude other drawers. It makes the scope of where to find the answer much narrower. This is less demanding for your working memory. Thus you can use it for framing your answer.

Not all questions point to only one answer drawer. There are hybrids. A hybrid aims at two answer drawers. For instance approach and work package (e.g. Can you explain why your approach is innovative and how it plays out in work package 1?) or you and results (e.g. What is your vision on the future of your scientific field?).
Preparing questions
Once you have defined the answer drawers, you can fill them. You can coin your answers based on the results of the ‘Five whys’ brainstorm in Step 4 and the questions you receive during mock interviews, or during one-on-one discussions. This usually takes the shape of a Word document with questions and answers organized along the lines of the answer drawers.
While formulating your answers, you can think about their structure. By nature, researchers have the tendency to first give a long list of details, arguments, or reasons before they get to the point. By the time you arrive at the actual answer, many panel members will be somewhere else with their attention. Especially in a humid, low-oxygen, warm Brussels meeting room at 4pm. Therefore, we advise to flip the answer. Start with the core of the answer, and then elaborate. ‘No, because…’ is clearer than: ‘Well, this, and that, but also that, and lest not forget this, thus overall one might be tempted to say no’.
Also you can think about how to support your answers and vary in the ways you do it. Questions about competences (located in the You drawer) required for the project are best answered using the STAR-method. You sketch a Situation in which you had a Task. Therefore you took a certain Action, with a positive Result. Other answers can be supported with an example, a reference to previous research, a citation, or an anecdote. Variation in types of support makes the Q+A a much more engaging experience. Also for the panel members who are not asking questions.
Questions that you do not want to have
Every candidate has questions that they do not want to get. Think about a certain expertise you do not completely have yourself, or your lack of management experience. They make you extra nervous and do consume more working memory than other questions. It is wise to prepare a clear and true answer in advance. Every proposal has its risks. You are a researcher, stick to the truth and the content. It is what it is. Do not try to make it look prettier than it is. By designing (best together with a peer with relevant expertise) and rehearsing an answer you are better prepared. And, you do unload your working memory, which improves overall performance.
Curve balls
Curve balls are questions that catch you off guard, that somehow startle you. For instance, a random question that you cannot answer straight away, a ‘stupid’ or unclear question. You think: ‘I do not know the answer.’ Then you really startle. Startling is bundled fear. Fear is a stress reaction that, as you know by now, diminishes your working memory. What you store in this answer drawer is a way to deal with it. It is a threefold defense line.
- Take three seconds (which is nothing in the eyes of the audience), drop back on your breath. Ground. Then probably your working memory is good enough to find an answer.
- If for some reason it does not work, then you can say: ‘please can you reformulate the question for me?’
- If you still cannot come up with an answer, you can say: ‘Am I correct, is this what you mean: …’ It gives you the possibility to interpret the question into the direction of an answer you want to give.